
6.1 Chat Preview (admin) #
Where to find it: Botisst → Chat Preview.
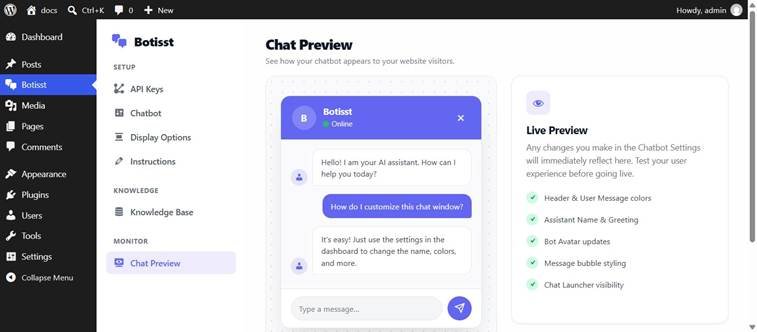
Chat Preview: a live styling preview, not a functional test chat.
Note: Chat Preview is a styling mock-up, not a live connection to your AI provider. It replays a fixed, pre-written sample conversation so you can see how your name, colors, avatar, and bubble style look — changes made on the Chatbot screen appear here immediately. To test real AI answers, use the live widget on your website’s front end instead.
6.2 The floating widget (site-wide) #
When Enable Site-wide Chatbot is on (§4.3), a round chat launcher button appears in the configured corner of every page on the public site.
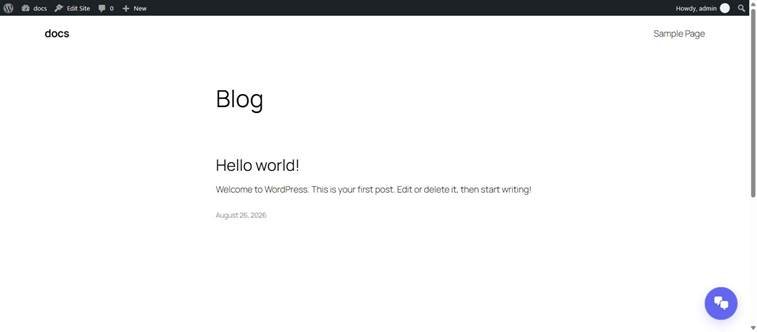
The floating chat launcher on the live front end.
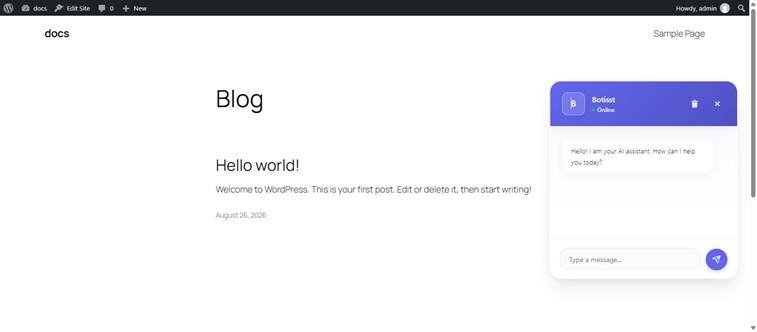
The chat window opened from the floating launcher, showing the configured greeting message.
Clicking the launcher opens the chat window with the configured greeting message, avatar, and colors.
6.3 Inline chat with the shortcode #
To embed the chat window directly inside the content of a specific page or post instead of (or in addition to) the floating widget, add the following shortcode to that page or post:
[botisst_ai]
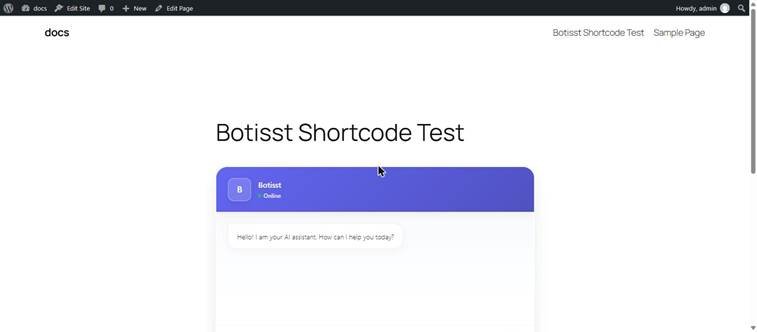
The [botisst_ai] shortcode rendering the chat window inline on a page — confirmed working in testing.
This was tested by adding the shortcode to a new page: the full chat window rendered inline, in the normal content flow, with the same greeting message and styling as the floating widget.
6.4 What happens without an API key #
If a visitor sends a message before any AI provider API key has been configured (or if the API call otherwise fails), the widget does not crash or hang. It displays the custom API/Server Error Message configured in §4.2, with the {support_url} placeholder rendered as a working “support agent” link.
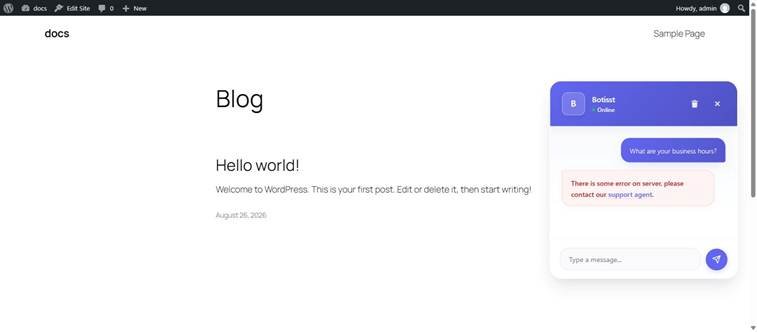
The graceful error state shown to visitors when no AI provider is configured.