The wizard is the fastest way to get a working chatbot. If Pinecone is selected, an extra Pinecone step appears.
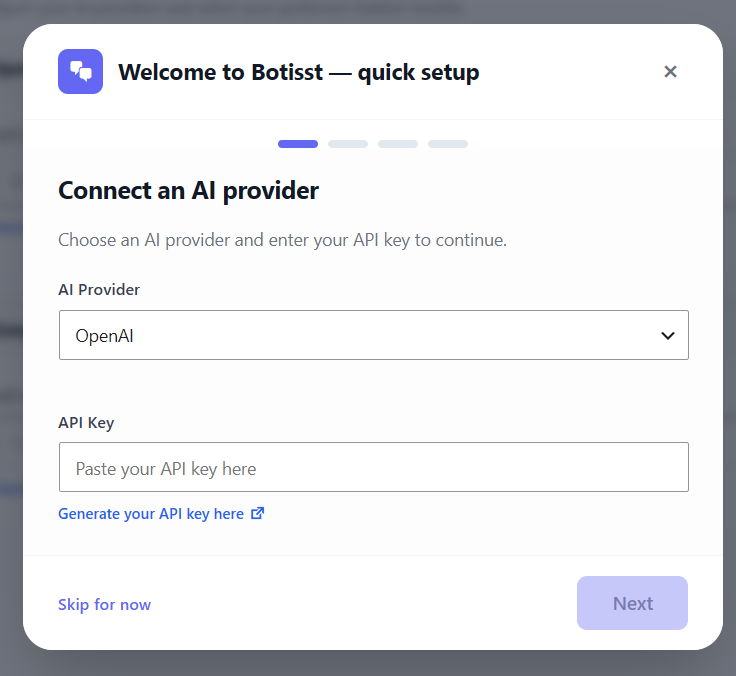
Step 1 – Connect an AI provider #
Choose OpenAI or Google Gemini, paste the provider API key, then click Next. The key is used to authenticate AI generation requests.
Step 2 – Choose your database #
Select where the knowledge base’s vector embeddings will be stored:
- SQLite (Local): SQLite (Local) – the default. Works out of the box with no extra setup.
- Pinecone (Cloud): Pinecone (Cloud) – a managed cloud vector database. Requires a separate Pinecone API key.
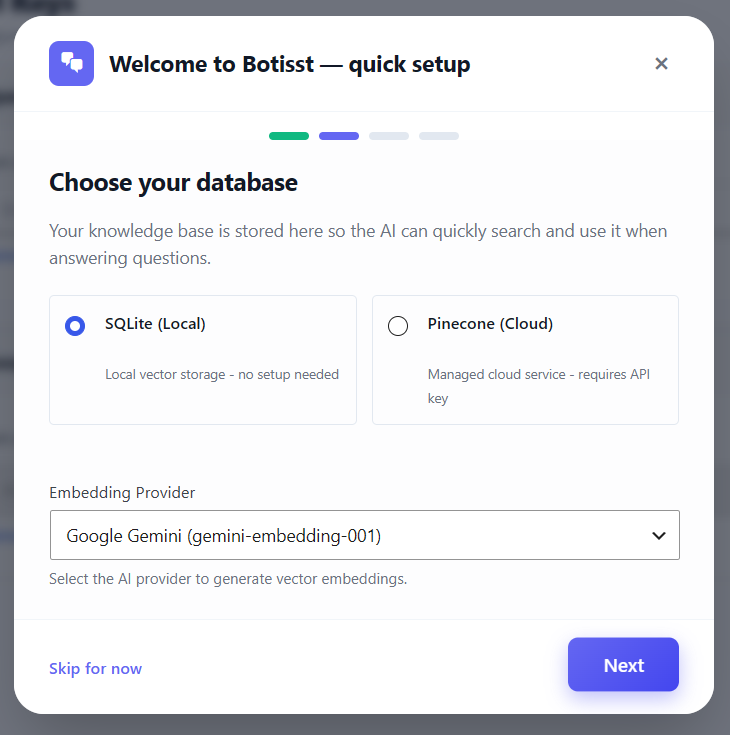
This step also lets you pick the Embedding Provider (OpenAI’s text-embedding-3-small or Google’s gemini-embedding-001). If no API key has been entered in Step 1, the wizard shows “You need to add an API key to generate embeddings” and blocks the Next button until you either add a key or skip this step.
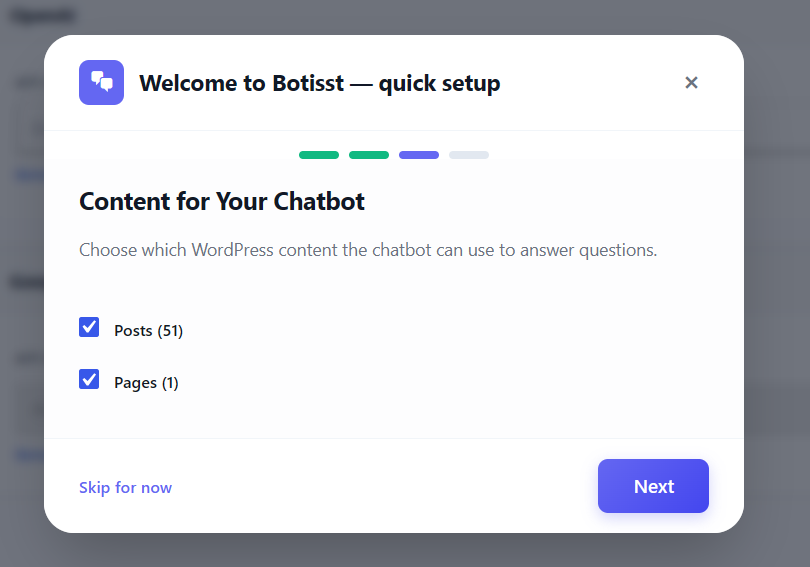
Step 3 – Content for your chatbot #
Choose which existing WordPress content types (Posts, Pages) the chatbot is allowed to read and use as source material. Both are checked by default.
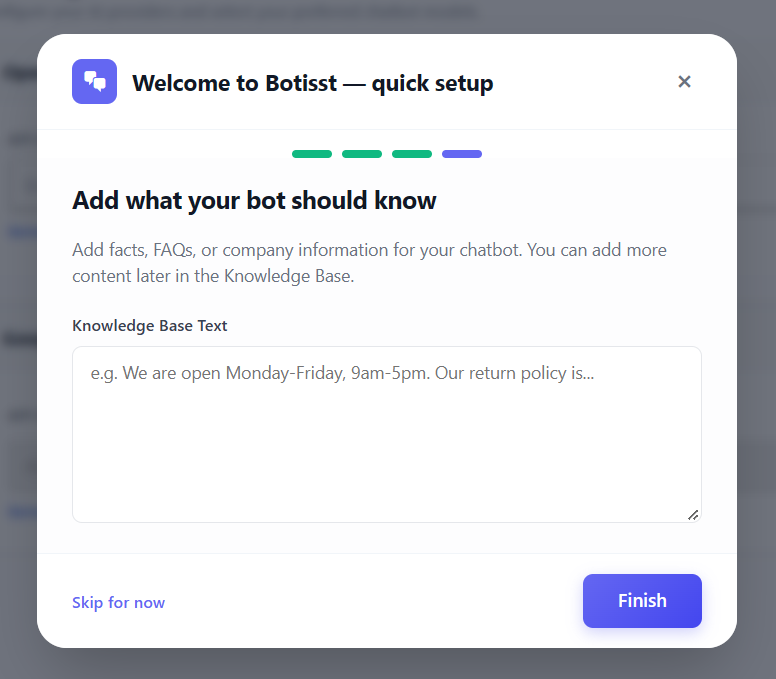
Step 4 – Add what your bot should know #
An optional free-text box where you can paste facts, FAQs, or company information before finishing setup. Clicking Finish completes the wizard and shows a “You’re all set!” confirmation screen with a Go to Settings button.